A sailboat ditch bag checklist is easy to find and easy to get wrong because most are lists of everything that might help. A bag stuffed with everything that might help is heavy, and a heavy bag can fail in two ways: nobody can lift it out of the companionway in a hurry, and it sinks or drags the person holding it when it hits the water. A lean bag that someone actually grabs does more good than a complete one left behind.
This article treats each item as a weight decision. The question for every piece of kit is whether it makes a difference in the first hours or days in a raft or dinghy, and whether that difference is worth carrying.
Why a ditch bag is not a second life raft pack
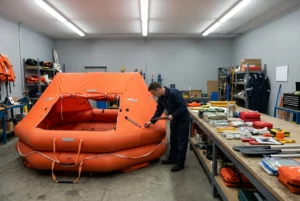
A life raft already carries a set of equipment, so you don’t need to pack it twice. The article on what an ISO 9650 life raft pack contains covers the standard contents and what to add for blue water. Read that first, because the ditch bag only makes sense as a layer on top of it.
The ditch bag has three jobs:
- Add the items the raft pack lacks for your crew and route.
- Carry the things that are personal to your crew: medication, glasses, a few documents.
- Serve as your only kit if you end up in a dinghy, or if the raft is lost, damaged, or unreachable.
The third job pulls the bag toward being a full survival kit, and that is where weight creeps in. Decide early which situation you are building for. A bag built to supplement a raft can be small. A bag built to be your whole kit in a dinghy needs more water, more shelter, and more signaling, and it’s heavier.
Pack and inspect the raft’s own equipment with the raft, so duplicating it in the bag only adds weight. If the raft pack has a knife, a bailer, a sponge and basic repair items, leave those out of the bag unless you have a specific reason.
Decide who it is for before you buy anything
Don’t buy anything until you have answered four questions. The answers change the contents more than any brand choice does.
How many people? Water, thermal protection, and seasickness medication scale with crew. A bag for two people cannot simply be shared out among six. If your crew changes, you have to revisit the bag.
Where are you sailing? Cold water changes the priorities completely. In cold water, the first problem is staying out of it and staying warm, and a foil blanket is a weak answer. Immersion suits and a raft canopy do that job, but they don’t fit in a bag. In warm water, the problems are sun, dehydration, and seasickness, which push water, shade, and sun protection up the list.
How long until someone finds you? This is the question that sets the weight. Near a coast with active rescue services and a working beacon, you may think it’s hours away. In mid-ocean, the nearest vessel or aircraft may be far away, and your plan has to cover days. Look at the actual distance to rescue assets on your route rather than assuming. A coastal sailor and a transoceanic sailor should not have the same bag.
Who has medical needs? Prescription medication, an inhaler, an epinephrine auto-injector or a diabetic’s supplies go in the bag for the person who needs them, with a margin for delay. No generic list covers this, and it is the first item in many bags that should not be left out.
Write the answers on a card and keep it with the checklist. When you look at an item later and wonder whether it belongs, the card tells you.
Signaling and location: the items that earn their place first
Being found comes first, because water and warmth only need to last until someone arrives. Spend weight here before anywhere else.
Beacon
A registered 406 MHz beacon is the single most valuable item. Your boat’s EPIRB is meant to float free and activate on its own, but it may not be where you are, and it may not work if the boat goes down in an unexpected way. Many sailors keep a PLB in the ditch bag, on the lifejacket, or both. The trade-offs between the two types are set out in EPIRB vs PLB: which emergency beacon to carry on a sailboat. Whichever you choose, make sure it is registered to you and this boat.
A satellite messenger adds two-way contact and tracking, which a beacon does not. What it does and does not do after you press the button is covered in PLB or satellite messenger on your lifejacket. A messenger does not replace a beacon for distress alerting, but it can be a useful addition if the weight and subscription make sense for your route.
VHF and position
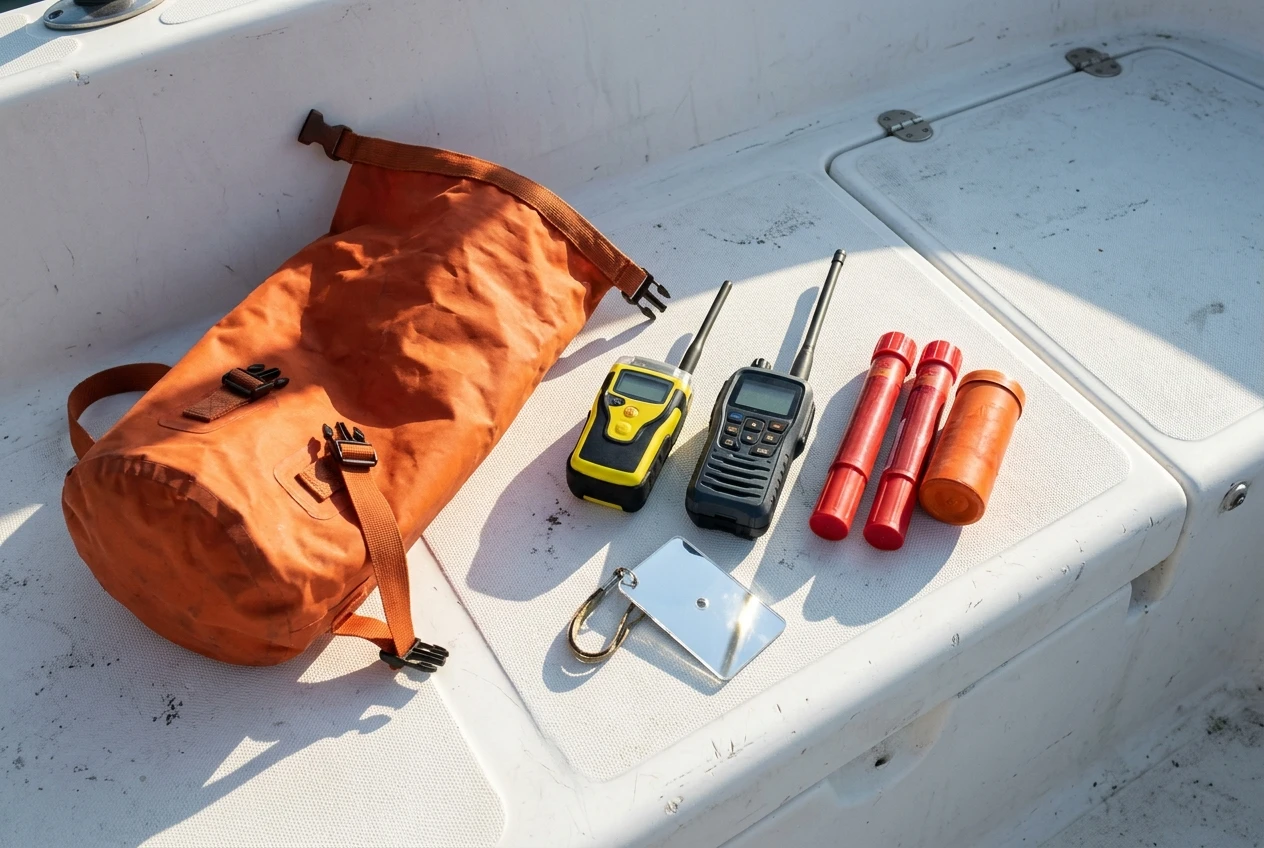
A waterproof, floating handheld VHF is worth its weight if you are within range of ships or shore stations. Which features matter in an emergency is covered in which marine VHF features help when you are calling for help. Take a spare battery or a way to run it on standard cells, because VHF is the first thing to go flat.
A handheld GPS lets you read out your position on the radio and see which way you are drifting. If you carry one, compare handheld GPS options for emergency use at sea by battery type and waterproofing. A beacon transmits position without you reading it, so a handheld GPS is lower priority if weight is tight.
Visual signals
Visual signals work at the end of the search, when rescuers are close and need to see you.
- Handheld red flares and a few parachute flares for night. Check the expiry date on each.
- An orange smoke signal for daylight.
- A signaling mirror, which weighs almost nothing and works in sun over long distances.
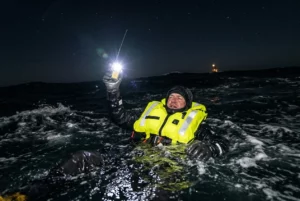
- A waterproof strobe or a headlamp with a red or white mode, and spare batteries.
- A whistle on every lifejacket, which should not be counted as part of the bag.
The raft pack will already have some of these, so check what it holds before buying more. Buy extras only where the raft pack is thin or where you want a second source. Flares are heavy for what they do, so carry only as many as you can justify.
Water, warmth and first aid: where the weight trade-offs get hard
This is where bags become heavy, because each item is genuinely useful and none of them is light.
Water
Water weighs about a kilogram per liter, and people most often cut it and most often regret it. Crews on short coastal routes may reasonably carry a modest amount in sealed pouches and rely on rescue arriving soon. Crews far from help need a source that is not limited by what they can carry.
A manual reverse-osmosis desalinator is that source. It is heavy and expensive compared with anything else here, and it needs testing and maintenance to work when you need it. Whether it earns its place depends on your answer to the time-to-rescue question. For a crew days from help, it is worth the weight. For a coastal crew, you’d better spend the weight elsewhere.
Collapsible containers and a sheet or bag for catching rain weigh very little and help only if it rains. Do not plan on drinking seawater under any circumstances.
Warmth and shelter
Foil blankets, also called thermal protective aids, are light and cheap, and are better than nothing. A heavier-duty survival bag keeps more heat in and lasts longer. Neither replaces a raft canopy in cold conditions, and neither replaces an immersion suit if the water is cold enough to need one. Pack a spare hat and gloves if cold is a realistic problem on your route.
In warm climates, shade matters more than insulation. The raft canopy provides much of it, but a lightweight cover, a hat for everyone, and sun protection for exposed skin are worth the small weight.
First aid
A ditch bag first aid kit should be small and aimed at what actually goes wrong in a raft:
- Seasickness medication, since vomiting loses water you cannot replace.
- Personal prescription medication for anyone who needs it.
- Sun protection and lip balm.
- Dressings and waterproof tape for cuts and sores caused by saltwater and prolonged wet skin.
- Any painkillers your crew normally use, in sensible quantities.
Anything that requires training or equipment you don’t have is dead weight. A suture kit in untrained hands is not a first aid item. Take advice from a doctor or a first aid course about what suits your crew and your route.
What to leave out, and why a heavy bag fails when you need it
The main reasons to leave an item out are duplication, weight, and unreliability. Items that fail on all three are the usual culprits.
- Anything the raft pack already has, unless you want a second one for a specific reason.
- Food beyond a minimal amount. In the first days, water matters far more than food. Compact rations that need no water to eat are acceptable. Food that needs water to prepare is worse than none.
- Large multitools and heavy knives. One good knife on a lanyard is enough, and the raft will have one too.
- Paper charts. A small laminated chart of your region can help, but a full set won’t.
- Fishing kits you have never used. If the raft pack includes one, that is enough. Learning to fish from a raft while dehydrated is not a plan.
- Spare electronics with no battery plan. A device that needs charging from the boat is useless once you leave. Pack batteries that will survive long storage, or leave the device out.
- Gadgets you have never tested. If you haven’t used it on the water, you don’t know it works.
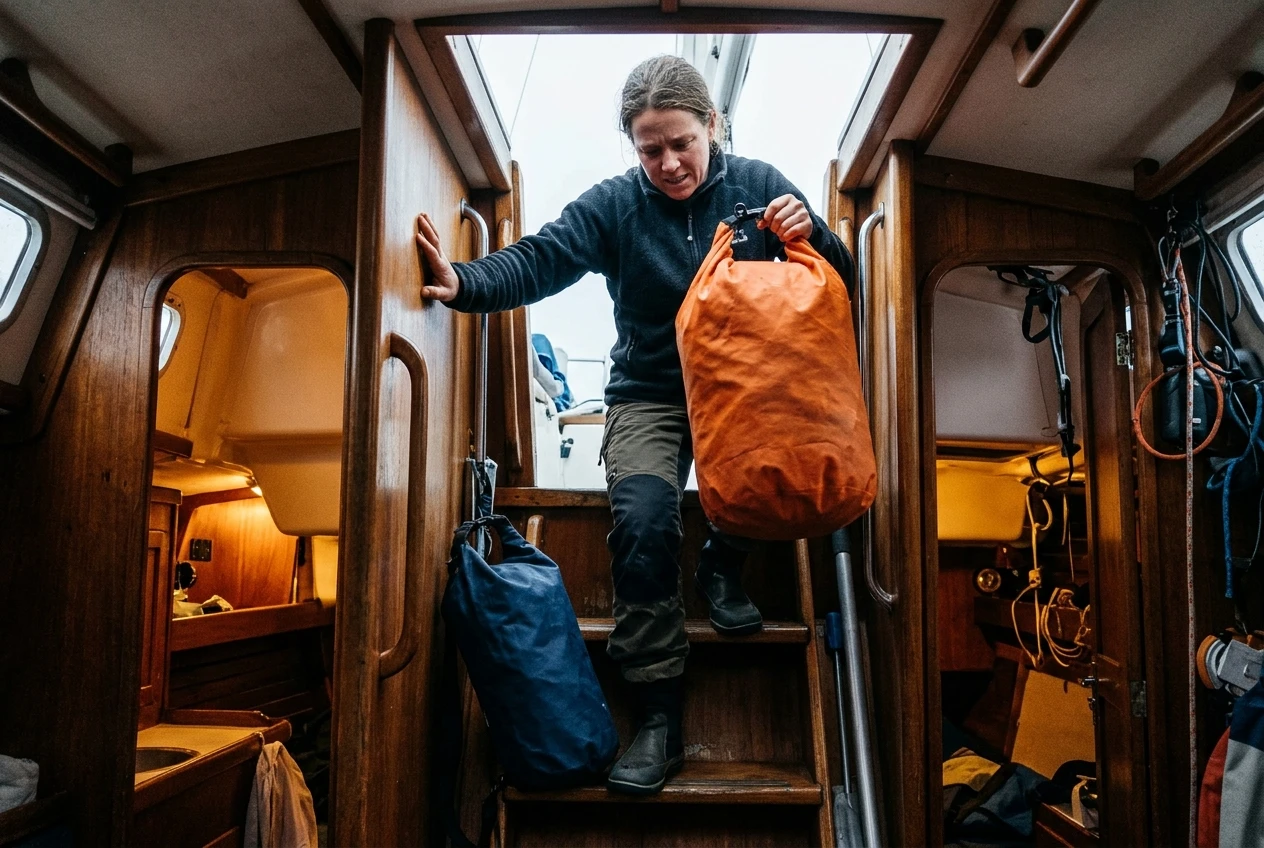
A heavy bag fails in two ways. When you grab it, it is too heavy to lift out of a locker or up a ladder, especially while the boat is moving or filling. In the water, a bag that does not float can pull on the person holding it or sink out of reach.
Set a weight ceiling and hold to it. A practical test is whether the smallest adult on board can lift the bag with one hand while climbing out of the companionway. If they cannot, remove items until they can, or split the contents into two smaller bags that two people can carry.
Before you finish packing, weigh the bag and write the weight on the checklist. Then test that it floats with everything in it, in a calm harbor or a bath, before trusting it.
Packing, floating and stowing it so you can grab it in under a minute
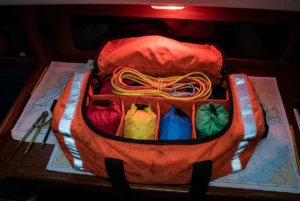
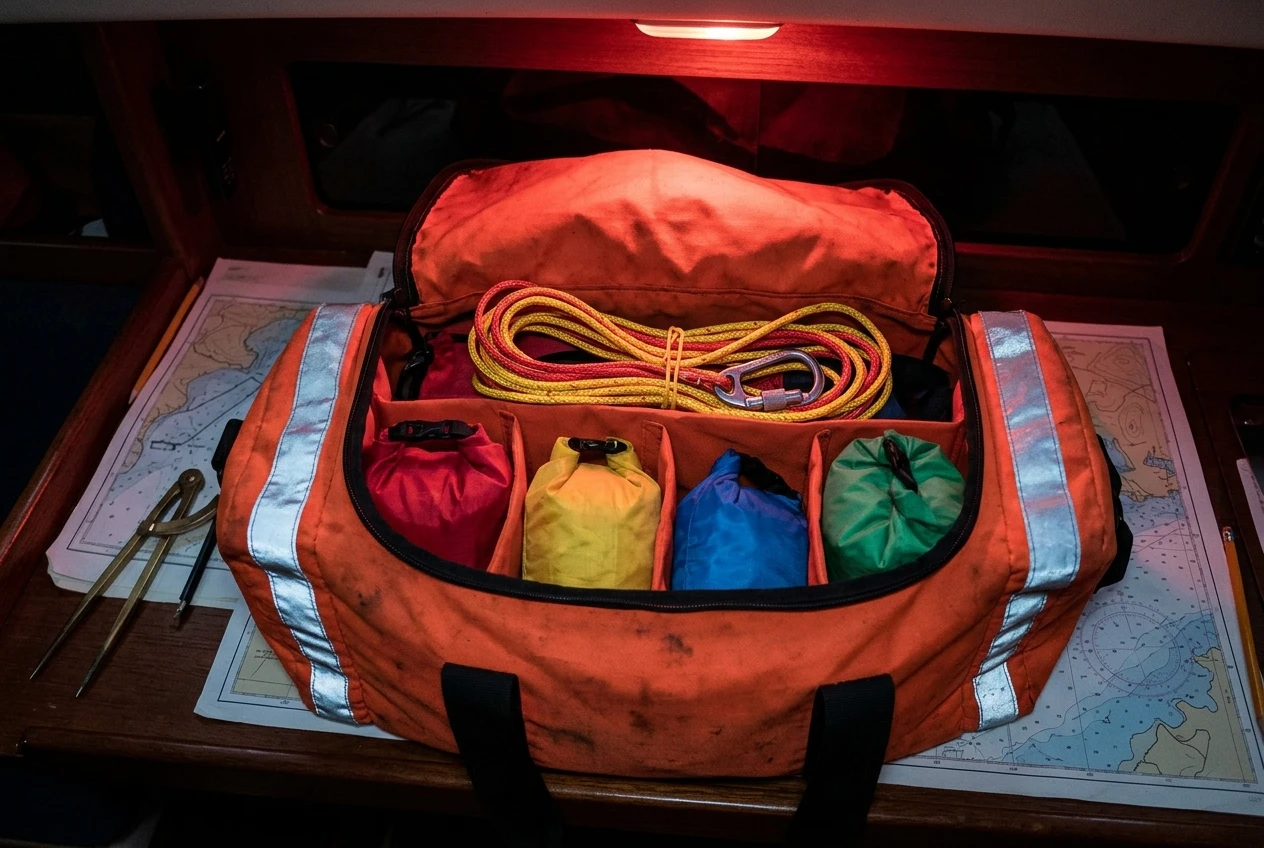
Choose a bright, tough bag that’s either buoyant or has enough flotation to stay on the surface when loaded. Choose a color that stands out on the water and add reflective tape. A roll-top dry bag or a purpose-built grab bag works, as long as the closure seals properly.
Inside, group the contents in smaller dry bags by purpose: signaling, first aid, water, warmth. In the dark and in a hurry, you want to find the right group by touch. Put the beacon and the VHF where you reach them first.
Attach a floating line and a quick-release clip so you can tie the bag to the raft, not the boat. Tying the bag to the vessel risks pulling it under if the boat goes down. Use a cuttable line, and keep a knife within reach of the clip point.
Tape or clip a waterproof copy of the checklist inside the lid, so anyone can see what is in the bag and what is missing.
Where to stow it
Stow it where you can reach it in under a minute from the places you are most likely to be, and make sure every crew member knows where it is.
- Near the companionway or in a cockpit locker is usually easier to reach than below. Consider both fire and flooding when you decide, because a place that is reachable in one emergency may not be in another.
- Do not bury it behind other gear, under cushions, or in a lazarette that needs the cockpit cleared.
- Keep the stowage place consistent, so the bag is never moved for convenience and left somewhere else.
Practise. Time how long it takes each crew member to reach the bag from the bunk, the helm and the galley, and to get it to the raft or dinghy. A drill that takes more than a minute shows you where to move the bag or what to remove from the way. This also tells you whether the bag is too heavy for anyone on board.
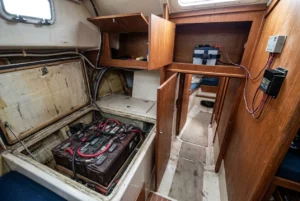
If your safety electronics depend on the boat’s power, the way they are wired matters before you are in the raft, as explained in why your safety electronics die with the house bank, and how to wire them so they don’t. Items in the ditch bag should not depend on the boat at all.
Checking and rotating the contents each season
A ditch bag that was complete three years ago may not be complete now. Pick a fixed time each season, such as before the sailing season starts, and go through the bag with the checklist.
Take everything out and check each item:
- Flares and smoke signals: check the expiry date printed on each and replace any that are out of date. Dispose of expired ones according to local rules.
- Beacon and VHF: run the self-test according to the manufacturer’s instructions, check the battery expiry date, and replace as required. Confirm the beacon registration still shows the right boat and contact details.
- Batteries in torches and strobes: replace on a schedule, and check for corrosion.
- Medication and first aid: check expiry dates and swap in current supplies. Update the contents if anyone’s medical needs have changed.
- Water pouches and sun protection: check dates and replace as needed.
- Foil blankets and dry bags: look for tears, worn seams and failed closures.
- The bag itself: check for damp, mould and corrosion on clips, and make sure the flotation still works.
Put a date on the card inside the lid and note what was replaced. Keeping that record means you do not have to remember when the flares were last changed.
Revisit the original questions whenever something changes: a new crew member, a new route, a longer passage. A bag built for a summer coastal season is the wrong bag for an ocean crossing, and the checklist should change when the plan does. For the wider kit that sits around the ditch bag, the safety equipment every boat needs before it leaves the dock is a useful companion to read alongside it.
This article was created with AI assistance and reviewed by a human editor.
Disclosure: This post contains Amazon affiliate links. If you buy through them, we may earn a small commission at no extra cost to you.
About The Author