
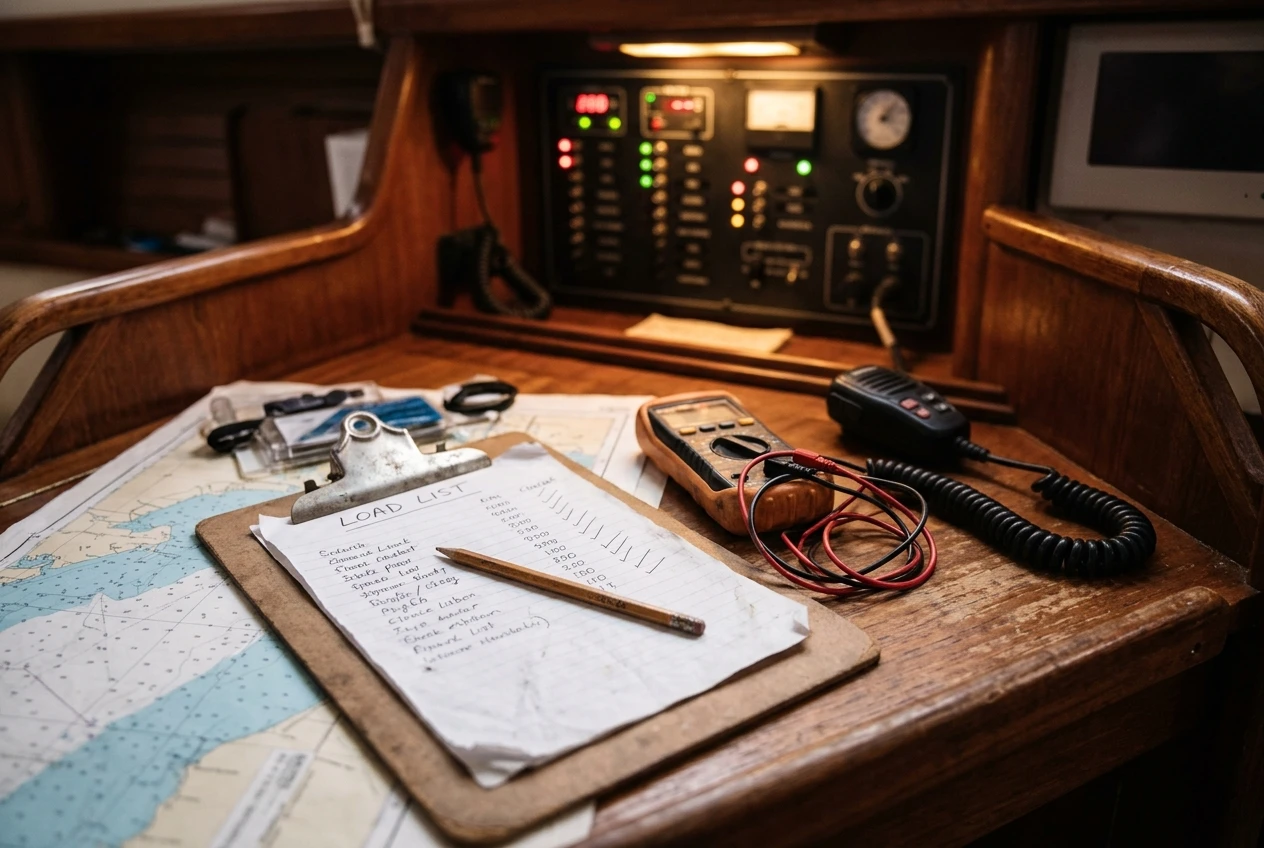
A flat house bank draws the VHF, AIS, chartplotter, navigation lights, and often the autopilot at the same time, usually when the weather is already bad. Most sailors who own good safety gear have never added up what it draws, so they find their battery limit by running into it. A power budget gives you that number while you are still at the dock.
This article shows how to calculate a sailboat’s power budget as a ranked list of loads with a written shed order. It uses amp-hours and a pencil, and no electrical training.
Why a flat bank is a safety failure, not an inconvenience
On a weekend boat, a dead battery means a tow. On an offshore boat it can mean no lights at night, no radio, no AIS, and no position. Each of those is a collision, communication, or navigation risk, and they fail together because they share one supply.
The bank also fails slowly. Voltage sags, instruments reboot, the autopilot drops out, and the plotter restarts. Gear that browns out repeatedly is harder to trust than gear that is simply off, and the crew is making decisions during that slow decline. If the crew hasn’t decided the shutdown order beforehand, whichever device hits its low-voltage cutoff first decides, with nothing to do with importance.
A budget replaces that accident with a plan. It tells you how long the things that matter will keep running and what you will switch off to make that happen.
Build the load list: every safety and navigation device, its draw, and how long it runs
Start with a sheet of paper or a spreadsheet and walk the boat. Write down every device that takes power from the house bank or the engine bank, including the ones you rarely think of as electrical. For each one, record three things:
- Draw in amps at the boat’s nominal voltage (12 V on most boats). The manual or label gives it in amps or watts. Divide watts by volts to get amps, so a 24 W load at 12 V is 2 A.
- Hours per day it runs. Be honest about this. Nav lights run all night, a VHF in standby runs all day, and a radar may run only when you switch it on.
- Amp-hours per day: amps multiplied by hours.
Check the draw in the mode you actually use. Many devices list a transmit or peak figure and a much lower standby figure. A VHF is the usual example: receiving and transmitting differ by a large factor. Use the standby figure for the long hours and add a small allowance for transmitting.
Your list should cover at least these:
- VHF radio, plus any DSC controller and a second handheld if you charge it from the boat
- AIS transponder or receiver
- Chartplotter and any separate display
- Radar
- Navigation lights, anchor light and masthead tricolor
- Autopilot, including the drive unit
- Instruments for depth, wind and speed
- Bilge pumps, automatic and manual
- Satellite communicator or sat phone charging
- Fridge, freezer, water pump, cabin lights and everything else that is not a safety item
Include the non-safety loads. They matter because you will switch them off, and you cannot shed something that isn’t on the list.
Here is an example using invented round numbers to show the arithmetic. Read your own labels, not these.
Load Amps Hours/day Ah/day VHF standby 0.6 24 14.4 AIS 0.3 24 7.2 Nav lights 1.0 12 12.0 Depth and wind instruments 0.2 24 4.8 Chartplotter 1.5 24 36.0 Autopilot (average) 2.0 12 24.0 Fridge 3.0 10 30.0
Totals like this usually surprise people, and the fridge or autopilot is often the largest line on the sheet.
Sort loads into tiers: must never stop, needed when underway, and can be shed
Once the list exists, assign each load to one of three tiers. For each device, ask what happens to the boat and crew if it stops for a day.
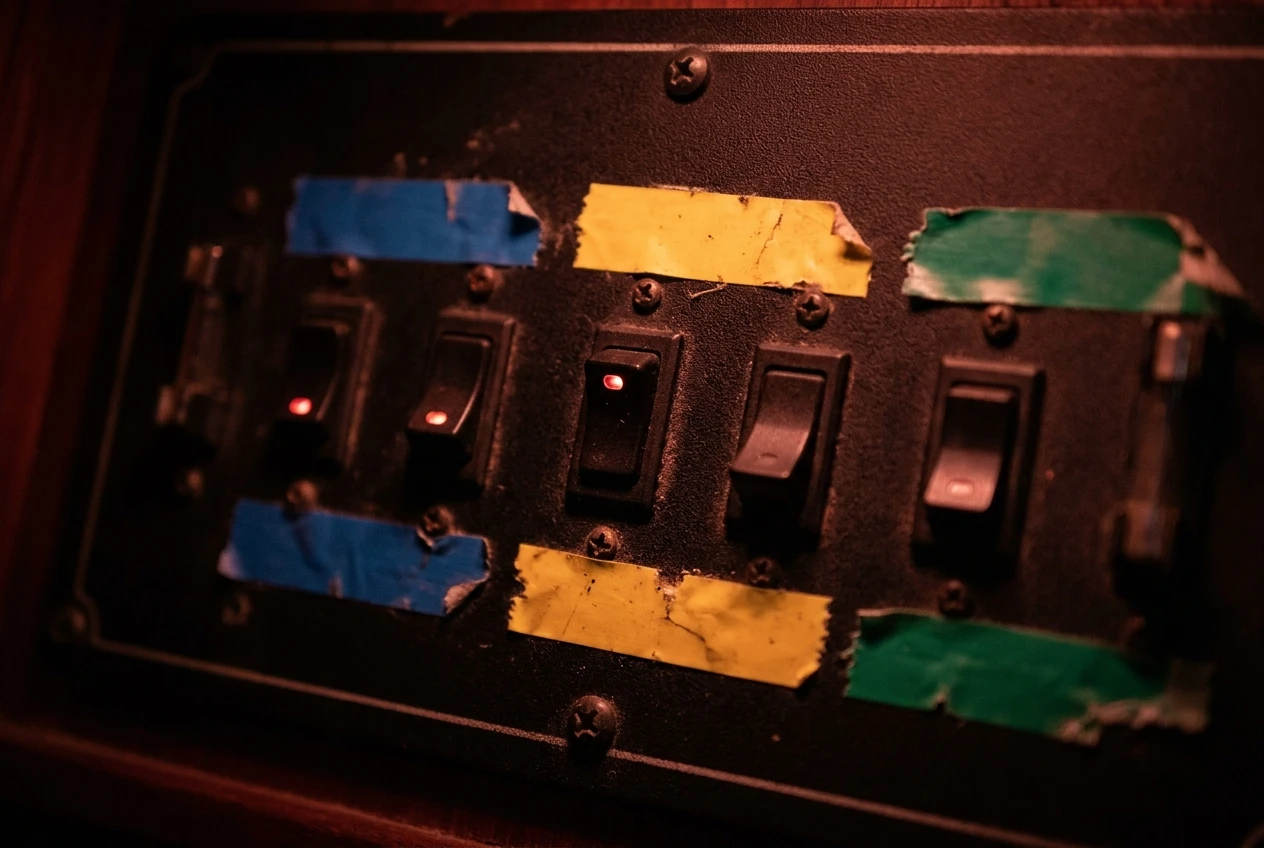
Tier 1: must never stop. These keep you visible, reachable, and able to deal with water in the boat. Navigation lights when it is dark, the VHF on standby, the AIS, an automatic bilge pump, and a basic depth or position source belong here. Keep this tier short. Every item you add shortens your autonomy.
Tier 2: needed when underway. These make passage-making safe and workable but have a manual fallback. The chartplotter, autopilot, radar, and wind instruments fit here. Steering by hand is tiring but possible, and paper charts and a handheld GPS can cover the plotter, which is why a backup position source belongs in the locker. The article on what to do if your GPS fails while sailing covers that side.
Tier 3: can be shed. Fridge, freezer, water pressure pump, cabin and reading lights, entertainment, device charging, and anything with a heater element. These make life comfortable, and none of them keeps the boat safe.
Some loads sit across tiers depending on conditions. Radar is optional on a clear day and close to critical in fog or heavy traffic. Write down the conditions that move a load up or down so the decision isn’t improvised on watch.
Turn the critical tier into hours of autonomy from the battery capacity you really have
Autonomy is the usable amp-hours you have left divided by the average amps the critical tier draws. The hard part is knowing what “usable” and “left” mean.
Start from the capacity you really have, not the label. The nameplate rating is the capacity when the battery was new. Older batteries hold less, and a bank that has been deeply discharged many times can be well below its rating. If you have a battery monitor, read the capacity it measures, or ask it to run a proper capacity test. If you have no monitor, treat the rating with suspicion in proportion to the bank’s age.
Apply the usable fraction. Lead-acid chemistries are usually run to about half their capacity to avoid shortening their life, while lithium banks typically allow a much deeper discharge. The manufacturer’s data sheet gives the figure for your batteries, so use that and not a rule of thumb.
Decide where shedding begins. You will not start protecting Tier 1 when the bank is full. Start when the bank has fallen to a level you choose in advance, such as 30 percent of usable capacity. The budget answers how long the remainder lasts once everything else is off.
Here is the worked example, again with invented numbers. A 400 Ah nameplate bank that tests at 80 percent of its rating holds 320 Ah. With a 50 percent usable fraction, that is 160 Ah. The Tier 1 loads from the table above (VHF, AIS, nav lights, instruments) add up to 38.4 Ah per day, an average of 1.6 A over 24 hours.
- From a full bank: 160 Ah ÷ 38.4 Ah per day gives about 4.2 days of Tier 1 alone.
- From the shed point at 30 percent usable: 48 Ah ÷ 1.6 A gives 30 hours.
Thirty hours is the figure that matters, because it is what is left when you have already been shedding. If the number is shorter than you can tolerate, you have three options: cut the Tier 1 draw, raise the shed point to act earlier, or add charging capacity. Charging sources such as solar, wind, towed generators, and the engine alternator offset the draw, but don’t count them in the autonomy figure unless you can rely on them under the conditions you are planning for. Solar does nothing at night or under heavy cloud.
Write the shed order down: what goes off first when the bank sags at 0300
At 0300, tired and in poor conditions, nobody wants to decide the shed order from first principles. Write it in advance as a numbered list and stick it next to the electrical panel.
A workable list follows the tiers in reverse and uses voltage or monitor state of charge as the trigger:
- Switch off all Tier 3 loads first, starting with the biggest draws: fridge, freezer, and water heater, then entertainment and charging.
- Cut Tier 2 loads in order of how well you can do without them. Radar standby, the second display, and the plotter backlight come first; then the autopilot if someone can hand-steer.
- Leave Tier 1 on. If Tier 1 is failing, start the engine or generator and charge, or treat it as an emergency and use the backup sources described below.
Next to each step, write the trigger. For example: “Bank below X volts at rest, or monitor below Y percent.” Voltage readings move with load and temperature, so a state-of-charge reading from a battery monitor is a better trigger than a voltmeter when you have one. Pick the numbers using your own battery data sheet and your own shed point from the previous section.
Add one more line: when the engine runs to charge, who decides when to start it and how long it runs. A budget that never mentions charging time is only half done.
Tell the whole crew, and put the list where a person who has never seen the panel can find it.
Check the budget against the real boat with a meter and a day at anchor
Everything above is built from labels and manuals. Real draws differ because cables, aging devices, and settings change the figures, so test the list.
Measure the actual draw. Use a clamp meter around the positive cable, or a DC ammeter or battery-monitor shunt, to measure the true current. Switch each load on alone, read the amps, and compare to your sheet. Where the figure is higher than the label, use the measured one.
Run a day at anchor. Anchor somewhere sheltered, charge the bank full, turn off every charging source (shore power, solar, alternator), and live on the boat as you would at sea. Run the Tier 1 and Tier 2 loads as planned, note the monitor’s reading at the start and end, and compare the amp-hours consumed with your predicted total.
If the measured consumption is well above your list, something is missing. Common causes are parasitic loads that stay on when the boat is “off”, such as stereo memory, stand-by indicators, forgotten chargers, and some instruments. Fix the list, then redo the autonomy calculation with the measured numbers.
Repeat the test after any big change to the boat, such as adding radar, a larger fridge, or a new autopilot. Repeat it as the batteries age, because the capacity part of the sum changes.
Where the budget hands over to the wiring, and the backup power that sits outside it
A budget tells you how much power the critical tier needs. It does not guarantee that power reaches those devices when the house bank is dead. That depends on how the circuits are wired: whether a separate battery or emergency crossover can feed the VHF, AIS, and lights, and whether a failed house bank can drag down the supply to the equipment you most need. The wiring side is covered in why your safety electronics die with the house bank and how to wire them so they don’t. Use your Tier 1 list as the input, because it defines exactly which circuits to protect.
Some safety equipment should sit entirely outside the budget, on its own batteries and with no connection to the boat’s supply. An EPIRB, a PLB, a handheld VHF with its own charged battery, and a handheld GPS all carry their own power. The article on EPIRB vs PLB explains how the two beacons differ. Treat these as the last layer for the day when the bank and the wiring have both failed. Check their batteries and expiry dates on a schedule, since a stand-alone device is only independent if its own battery is good.
Once you’ve written and tested the list, tiers, autonomy figure, and shed order, keep the sheet with the boat’s other safety documents and update it whenever the equipment changes. The calculation takes an afternoon, and it replaces guessing at 0300 with a list you wrote in daylight.
This article was created with AI assistance and reviewed by a human editor.
Disclosure: This post contains Amazon affiliate links. If you buy through them, we may earn a small commission at no extra cost to you
About The Author


