Judge marine VHF radio features for emergencies by running a distress call and, at each moment, asking what the radio needs and what a tired crew can still operate. A feature that looks impressive in a catalog matters little if it needs a menu you cannot reach with wet gloves, or a position feed that was never connected.
This article follows a call from the first button press to the moment help arrives. It covers fixed and handheld radios, the GPS link, the controls, the power and antenna, and a short test routine. The last section covers when VHF runs out of range, and other equipment takes over.
What happens in the first minute after you press the distress button
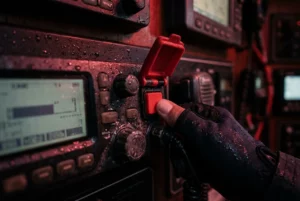
On a radio with Digital Selective Calling (DSC), the red distress button sits under a flip cover. Lift the cover and press and hold the button. On most radios, hold it for about five seconds while the radio counts down or beeps; the exact time is in your manual. The hold is there to stop accidental alerts, so a crew member who taps it once and lets go has sent nothing.
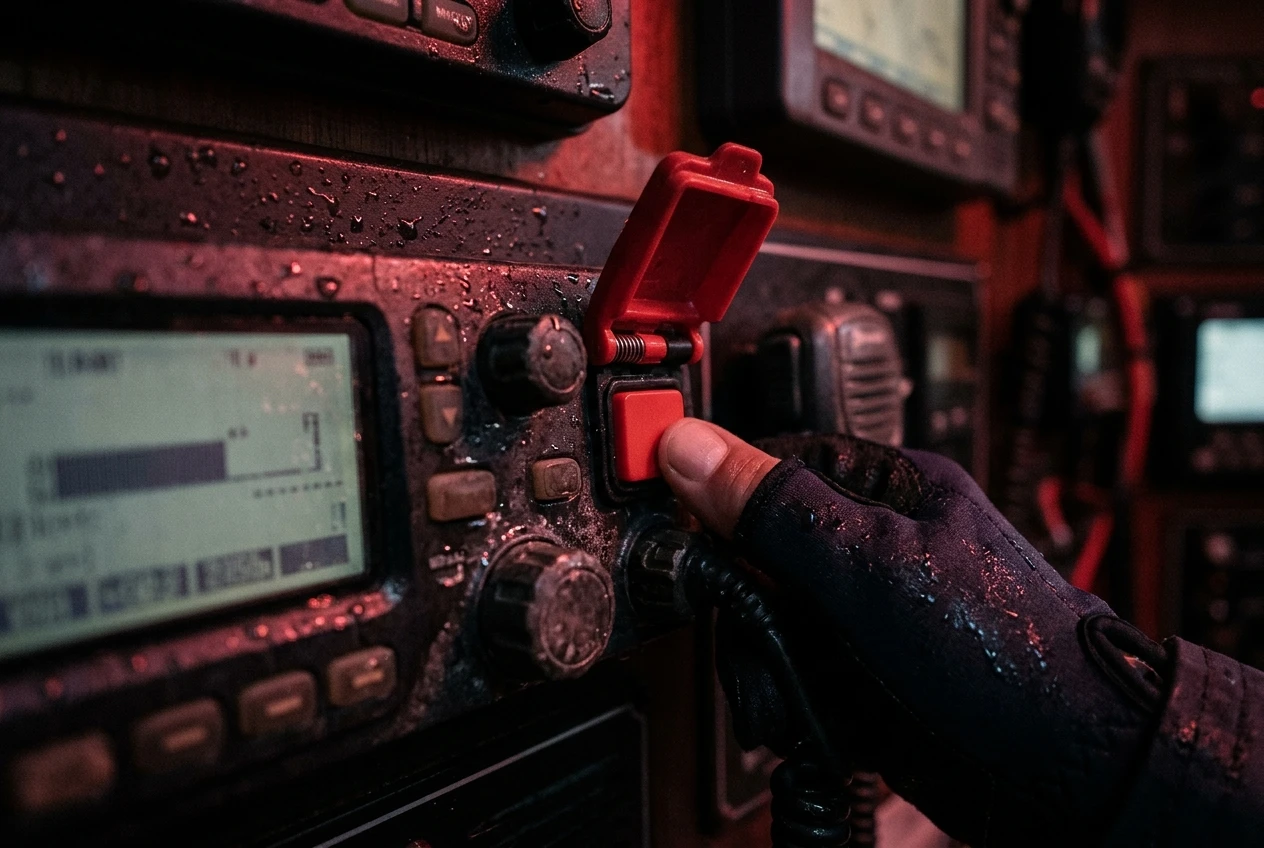
Once the hold completes, the radio transmits a short digital burst on channel 70. That burst is data only, with no voice. It carries your radio’s identity, position and time (if the radio has them), and the nature of the distress if you selected one. On most radios, a quick press sends an “undesignated” alert, which is the right choice when you have seconds, not minutes. If you have time, a short press first lets you pick a category such as flooding, fire, or abandoning ship.
After you send it, the radio switches to channel 16 and waits. It repeats the alert automatically every few minutes until a coast station or another vessel acknowledges it, so a missed first burst isn’t the end of the attempt. Stay near the radio, because the next move is yours.
A distress call breaks down into four moments, and each one depends on different features:
- The press: the cover, button, and hold time must work under stress.
- The data: the alert is only as useful as the identity and position inside it.
- The voice call: the radio must be on channel 16, with a working microphone and enough power.
- Being found: someone has to be in range, and you have to keep transmitting or stay locatable.
DSC distress alerts: what they send, who hears them, and the MMSI you must register
A DSC alert reaches every DSC-equipped station within range of your antenna. That includes other vessels that keep a DSC watch and coast stations that monitor channel 70. A voice call on channel 16 reaches only people who happen to be listening. The digital alert wakes up radios that are turned on but unattended, which is why it is the better first action.
The alert identifies you by your MMSI, the Maritime Mobile Service Identity, a nine-digit number programmed into the radio. It is the most important setting in the whole system. Without one, the radio either cannot send a DSC alert at all or sends one that identifies nobody.
Your national radio authority issues MMSIs, and in some countries a recreational boating organization does it on the authority’s behalf. Rules differ by country and by vessel type, so check with the body that covers your flag. Registration matters beyond the number itself. In many countries, the MMSI links to a database holding your vessel description and emergency contacts, which a rescue coordination center can pull up the moment your alert arrives.
Three practical points about the MMSI:
- Many radios let you enter it only a limited number of times, and fixing a typo can mean sending the radio back to the manufacturer or a dealer. Read the number back twice before you confirm it.
- If you own a fixed radio and a handheld, ask the issuing authority how to register each. Some authorities issue a separate MMSI for a handheld, and others have rules about sharing.
- If you buy a used radio, check its MMSI. A previous owner’s number sends the wrong identity, and the database will show someone else’s boat.
When a station receives your alert, it sends a DSC acknowledgment, then both sides go to channel 16 for voice. Send the voice call in this order:
- MAYDAY, spoken three times.
- THIS IS, then your boat name three times and your MMSI.
- MAYDAY, boat name, MMSI.
- Your position.
- The nature of the distress.
- The assistance you need.
- The number of people on board.
If you send an alert by accident, do not just switch the radio off. Follow your national guidance for canceling a false alert, which usually means a voice message on channel 16 to all stations identifying yourself and stating the alert was sent in error.
Why your VHF needs a GPS position, and how to check it is actually feeding the radio
A distress alert without a position tells rescuers that a boat with a given identity is in trouble somewhere within VHF range. That is much less useful than a position accurate to a few meters. The position in the alert comes from a GPS receiver, and the radio has one only if the manufacturer built one in.
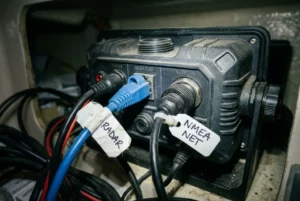
Most fixed DSC radios take position from an external source. The common route is NMEA 0183, a serial data connection from your chartplotter or a standalone GPS to the radio. Newer boats often use NMEA 2000, a shared network backbone. In both cases, the radio must be connected, configured, and receiving valid data, and nothing checks that automatically at the time of purchase or installation.
Many boats have a DSC radio with data wires that were never connected, connected backward, or stopped working after a chartplotter replacement. Nobody notices because the radio works for voice calls. The first sign of trouble can be when you press the distress button.
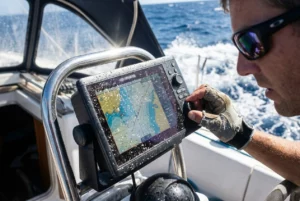
To check, look at the radio’s display, not the chartplotter’s:
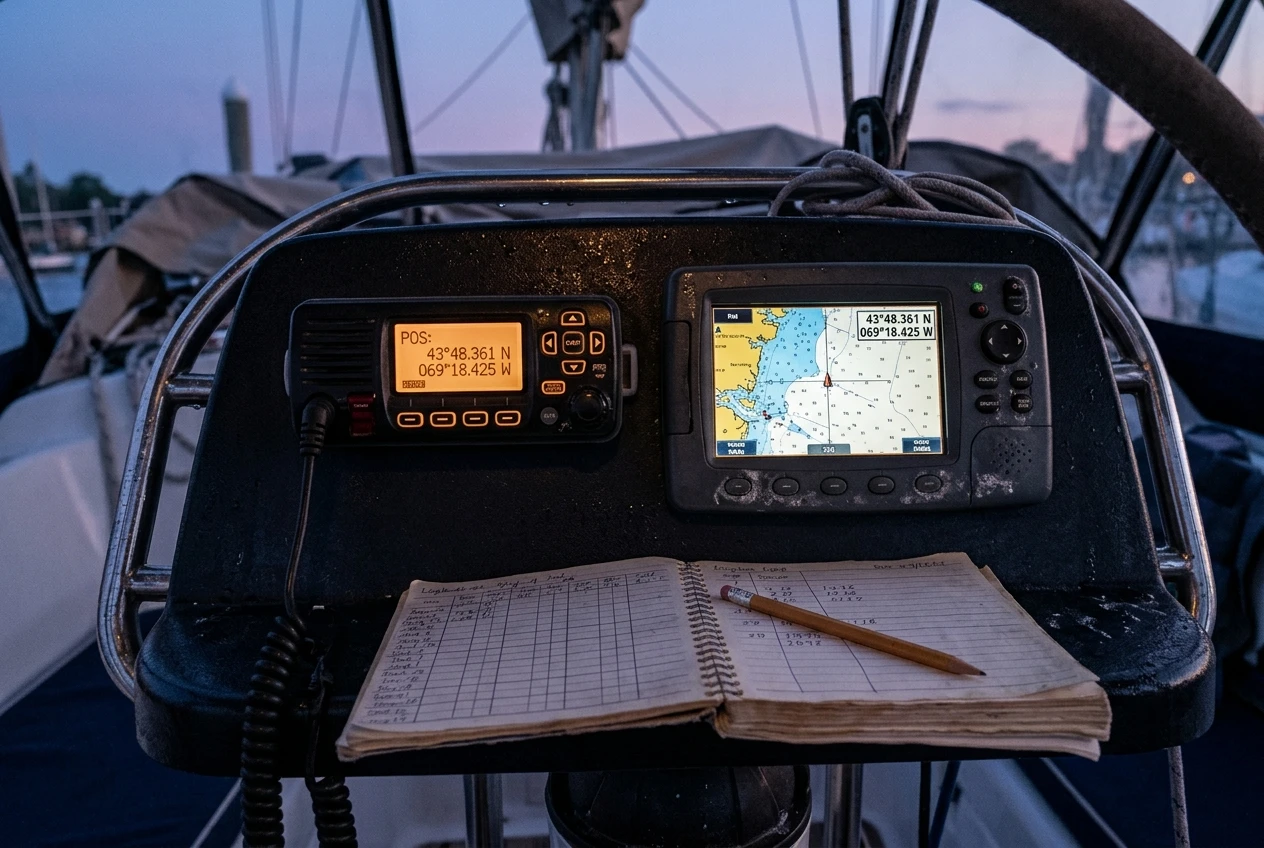
- Find the screen or menu page where the radio shows its own latitude and longitude. Most DSC radios have one.
- Compare it with the chartplotter. They should agree to the last digit shown.
- Look at the time stamp, if the radio shows one. A position that matches but does not update is a stale feed.
- Switch the chartplotter off briefly. Many radios show a “no position” warning or blank the coordinates within a short time. If yours doesn’t, you’ll know before you need it.
If your radio has a built-in GPS receiver, the same check applies, because the antenna still needs a view of the sky. A radio mounted below deck with the receiver behind a coachroof may not get a fix. Check where the fix is acquired, and not only whether it reports one in the marina.
Some radios let you type a position in manually. That is a fallback, not a substitute, because a manual position goes stale as the boat moves and the radio will not update it. Plan for a GPS failure in advance, with a handheld GPS and a routine for writing down your position at intervals. The article on what to do if your GPS fails while sailing covers the common failure modes and the backups that suit each one.
If the connection is NMEA 0183, check the settings the manuals specify. The data speed on the sending device and the receiving radio must match, and the radio needs position sentences it understands, typically such as RMC or GGA. The radio’s manual lists what it accepts, and the chartplotter’s output menu lists what it sends. If the two lists don’t overlap, no position arrives.
Fixed or handheld: what each can do when the boat is in trouble
A fixed radio and a handheld cover different parts of an emergency, and an offshore boat usually needs both.
A fixed radio has the advantages of power and antenna height. Transmit power is typically 25 watts, against 5 watts or less for a handheld. The antenna sits at the masthead, and VHF range is close to line of sight, so antenna height determines how far you can be heard. A fixed radio also draws position from the boat’s navigation instruments and can be wired to a second microphone at the helm.
It fails in specific ways. If the mast comes down, the antenna goes with it. If the boat floods or loses power, the radio goes silent. If you abandon ship, it stays on board.
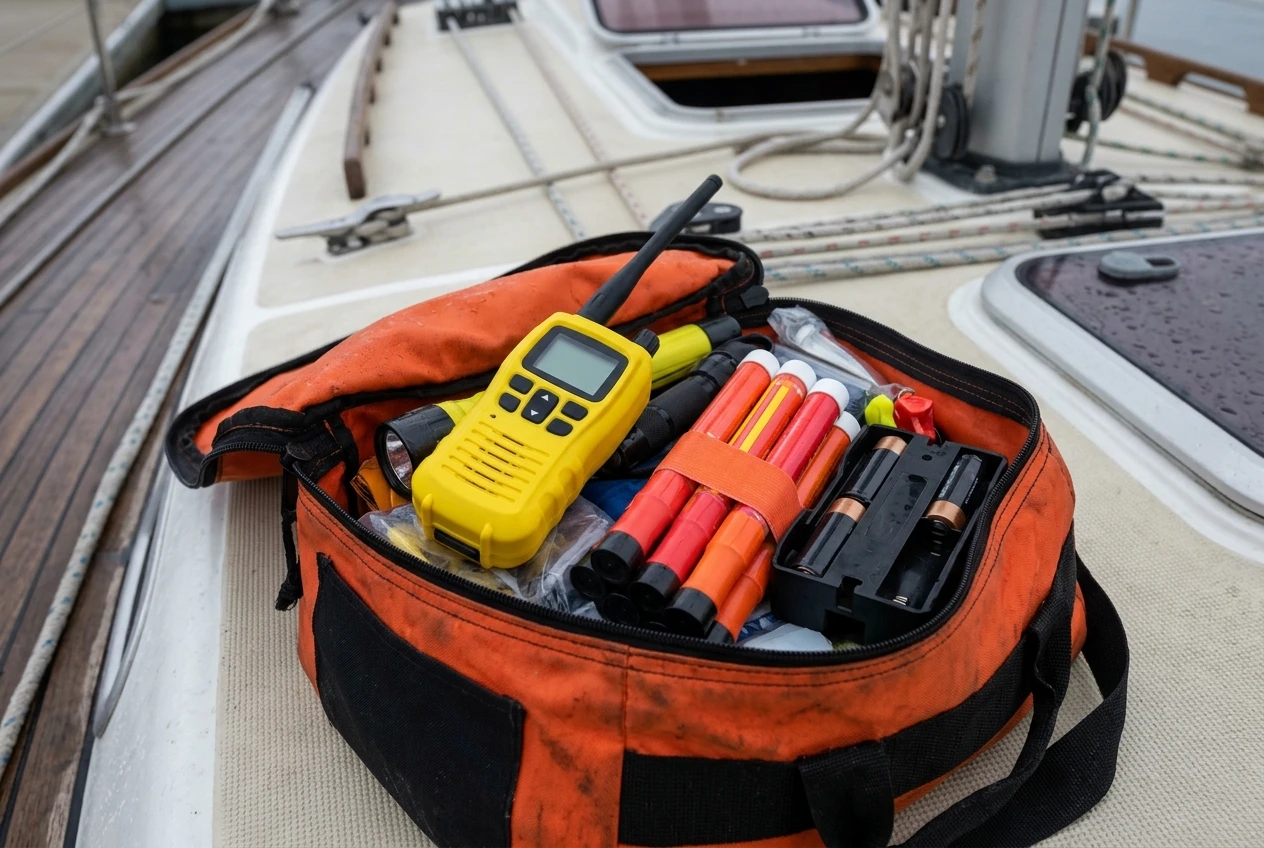
A handheld goes into the grab bag or the life raft. It runs on its own battery, so it works after the boat’s electrical system has failed. Its weaknesses are the short antenna at head height, lower power, and a limited battery life that shortens with transmitting. Expect a much shorter range than the fixed set, so it helps mainly when a vessel or aircraft is already close.
When comparing handhelds, these features matter more than the extras:
- Built-in DSC and GPS. Some handhelds have both, and some have neither. A handheld with its own GPS and DSC can send a distress alert with position from a raft. One without them is a voice-only radio.
- Floating and waterproof construction. Look for a stated waterproof rating and a design that floats. IPX7 means tested in 1 meter of water for 30 minutes, which covers a drop overboard but not necessarily prolonged immersion.
- A battery you can swap. A tray that takes ordinary alkaline cells gives you a fallback if the rechargeable pack is flat. Pack spares in the grab bag.
- Its own MMSI arrangement. Confirm with your issuing authority how the handheld’s identity is registered.
For a cruising boat, a fixed DSC radio with a working GPS feed plus a charged handheld, ideally with DSC and GPS, covers most failure combinations.
Controls you can use with wet gloves, in the dark, in a seaway
Controls matter most when conditions are worst. A radio that is simple to use in a marina can be unusable in a breaking sea at night, with one hand holding on and the other wearing a wet sailing glove.
Start with the physical design:
- The distress button. It should be large, red and protected by a cover you can lift with a gloved finger. Try it with your actual gloves. A cover that needs a fingernail is not an emergency control.
- A dedicated channel 16 key. Radios with a single press to get to channel 16 beat those that make you scroll. In an emergency, you do not want to find channel 16 in a menu.
- Knobs and keys over touchscreens. Wet screens misread touches, and gloves often do not register at all. Physical keys with a clear feel work when nothing else does.
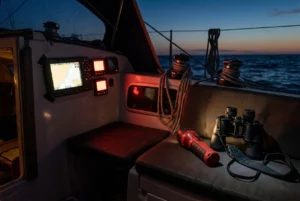
- A red night display. A bright white backlight ruins night vision. A dim red mode lets you read the screen without losing the ability to see the sea.
- A second microphone. A remote mic at the helm, with its own distress button where the model offers one, saves a crew member from going below to the nav station.
Also check how much you need to read. A radio that relies on small icons or a dense menu is slower to use when stress narrows attention. The best layout is the one you can operate from memory.
That is a case for practice. Run the sequence with the cover, the hold, the channel change, and the microphone with gloves on and the lights off, in daylight at the dock. Do it with every person who might need to do it. The boat owner will not necessarily be the first to reach the radio, so the crew should know where the distress button is and what the countdown looks like. In the test, stop before the hold completes, or switch off transmission if the radio allows it, so you don’t send a real alert.
Power, antenna, and waterproofing details that decide whether the call gets out
Many failed calls come from the installation, not the radio. Three parts of the installation deserve inspection.
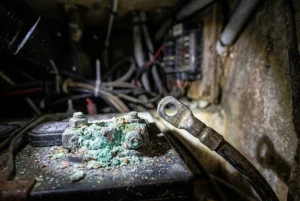
Power. A VHF should have its own fused feed from the battery, and the wire should be heavy enough that voltage does not drop when you transmit. At full power, a fixed radio draws several amps, which can significantly overload a poorly wired circuit. Corroded connections and thin wire cause weak transmissions or resets. Also consider what happens when the main switch is off or the house bank is flat. A radio on an emergency or engine-start circuit may keep working when the rest of the boat does not. Remember that the GPS feed also needs power, so the chartplotter or GPS must stay on for the radio to receive position.
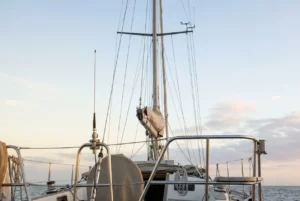
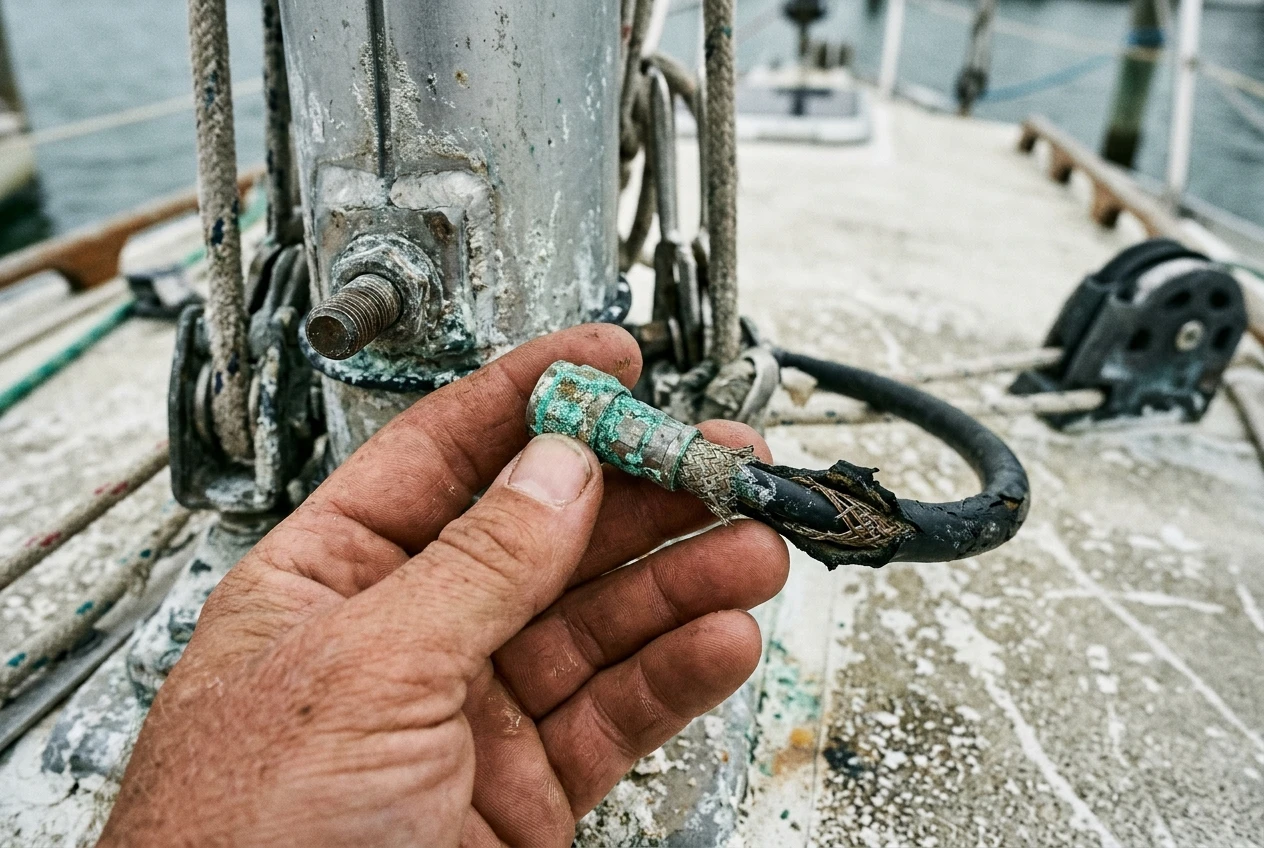
Antenna. Range depends on antenna height and the condition of the cable and connectors. Check the coaxial cable for kinks, chafe, and damaged insulation. Connectors, especially at the base of the mast and at the radio, corrode and let in water. A damaged cable can pass a casual voice check and still cut range badly. If the radio shows a high standing wave ratio warning, take it seriously.
Carry an emergency antenna. If the mast falls, a short whip that connects straight to the radio’s antenna socket can restore a limited signal. Test that the connector fits and keep the antenna where you can reach it quickly, with the tools to fit it.
Waterproofing. Fixed radios are usually splash-proof, not submersible. Check the seals on the microphone, the connectors, and the mounting position for spray and leaks from the deckhead. Handhelds with a stated waterproof rating still need the battery compartment and port covers fully closed. Salt crystals in a seal mean it needs cleaning.
A five-minute test routine to run before every passage
This routine fits into the pre-departure checks and does not transmit a distress alert.
- Check the identity. Open the radio’s menu and read the MMSI. Confirm it matches your registration papers.
- Check the position. Find the radio’s own position page. Compare it with the chartplotter and check that it updates. Switch the chartplotter off for a moment and watch for a “no position” warning, then switch it back on.
- Make a radio check. Call a nearby vessel or marina on a working channel and ask for a signal report. Do not use channel 16 for routine checks where your national rules discourage that. A clear report at a reasonable distance is a good sign for the antenna and cable.
- Check the DSC. Where practical, arrange an individual DSC call to another boat’s MMSI, ideally one that agrees to be the test partner. A reply shows the digital path works, although it does not prove the distress function.
- Operate the controls. Lift the distress cover, find the channel 16 key, and check the red display. Do it with gloves on. Stop before sending a distress alert.
- Inspect the physical parts. Check the antenna base and connectors, the microphone cable, and the emergency antenna. Check the handheld’s charge, its spare batteries, and that it is in the grab bag.
- Brief the crew. Make sure everyone on board knows where the distress button is, what the hold looks like, and how to make the voice call. A card by the radio with the call sequence and your vessel details helps in poor light.
Where the radio has a way to log or show system faults, read it. An ignored GPS warning for months can mean the position feed has been missing since the last refit.
Where VHF stops, and your EPIRB or satellite communicator takes over
VHF works only when someone is within range. A cruising boat far offshore can have a perfect radio and nobody listening for hundreds of miles. Over that distance, the DSC alert and the channel 16 call go unanswered.
The emergency position-indicating radio beacon, or EPIRB, covers that gap. It transmits on 406 MHz to satellites, which relay the alert to a rescue coordination center anywhere in the world. A registered EPIRB identifies your vessel and, when it has GPS, sends a position. It can trigger automatically if it floats free, which matters when no one can reach the radio. Keep registration current, as with the MMSI. Compare EPIRB and PLB for sailing to determine which suits a sailboat.
A satellite communicator or satellite phone adds two-way contact. With one, you can tell the coordination center what is wrong, change your plan if the situation improves, or ask for advice before it becomes a distress. The guide to satellite communication for offshore sailing sets out what each type does when things go wrong.
A sensible pattern for offshore use is to send the DSC alert and make the voice call if any vessel might be in range. If the situation is serious, activate the EPIRB at the same time, since it doesn’t need an answer to work. The two systems do not compete, and using both gives the best chance of being found quickly.
For coastal and near-shore cruising, a well-installed VHF with a verified GPS feed is the main tool, because help is close and boats and coast stations are listening. The farther you go, the more satellite equipment carries the weight, and the more VHF becomes the tool for the final approach, when rescuers are in range and need to talk to you.
For more on the other items worth checking before you leave, the essential sailing safety equipment checklist covers the rest of the boat.
This article was created with AI assistance and reviewed by a human editor.
Disclosure: This post contains Amazon affiliate links. If you buy through them, we may earn a small commission at no extra cost to you.
About The Author