If you are shopping for the best life raft for blue water cruising, the first thing to know is that the answer is a specification, not a brand. Two rafts that look identical in a chandlery photo can differ in what they are certified to, how long their kit is meant to last, how many people they honestly hold, and what is packed inside. A buyer who can read those lines on a spec sheet can compare any raft on the market.
This article explains what the standards require, how the kit levels differ, what you find in the canister, and what an offshore crew still needs to add. It names no products. Where the details vary between editions of a standard or between manufacturers, it says so and tells you what to confirm on the paperwork for the raft you are actually considering.
Why a blue water raft is a different purchase from a coastal one
You buy a coastal raft assuming help is hours away. Helicopters, lifeboats, and passing vessels are within reach, and the raft’s job is to keep people out of the water until they arrive. The kit can be modest because the wait is short.
On an ocean passage, the assumption changes. Rescue may take days because the nearest aircraft or vessel may be far away, and the raft must keep people alive for the whole wait. Three things follow from that:
- Exposure. Days in a raft mean cold, heat, sun and spray. Canopy design, floor insulation and ballast stability matter far more than on a short wait.
- Consumables. Water, food and signaling gear have to last longer, and their expiry dates matter.
- Sea state. A raft offshore is likely to be launched in rough water and may be knocked about for a long time. Capsize resistance and the ability to right itself are practical concerns, not catalog features.
Those three points drive every decision below. A raft that is entirely adequate for a day sail along a coast can be the wrong raft for a multi-week crossing, even when it carries the same label on the box.
ISO 9650 and SOLAS compared: what each standard actually asks of a raft
ISO 9650 for small craft
ISO 9650 is the international standard for inflatable liferafts for small craft, including cruising yachts. It sorts rafts by the range they are built for. Group 1 is the classification for offshore use, and Group 2 is for limited-range use closer to shore. For an ocean-going boat, Group 1 is the starting point, and a Group 2 raft is the wrong tool, whatever the price.
Within the standard, the contents are tied to a pack level, which is covered in the next section. The standard sets requirements for construction, inflation, stability, boarding, canopy and equipment, and the raft is tested against them.
SOLAS style rafts
SOLAS is the regime for commercial ships, and its life-saving appliance rules cover rafts built and tested to a more demanding specification than ISO 9650 small craft rafts. SOLAS rafts are generally larger, heavier, and more expensive, with a bigger equipment list (the SOLAS A pack and the smaller SOLAS B pack are the two familiar levels). Raft makers who offer “SOLAS style” or “SOLAS grade” rafts for yachts are usually describing something built toward that specification.
That wording needs care. “SOLAS style” is a marketing description, not a certification. A raft that is genuinely approved to SOLAS carries approval documentation from an authority. A raft that is merely modeled on SOLAS does not, and a buyer is entitled to ask which one they are looking at.
What to ask on a spec sheet
Whichever standard the seller names, find these on the paperwork rather than the brochure:
- The standard and edition the raft was certified to, and the group within it.
- Who tested and certified it, with a certificate you can read.
- The pack level the equipment list is based on.
- The stated capacity in persons, and what the raft supports if one buoyancy chamber is lost.
- Whether the canopy is single or double and whether the floor is insulated.
- Dimensions and weight of the packed raft, canister or valise.
For most cruising yachts, ISO 9650 Group 1 is the realistic and sensible specification. SOLAS-level rafts make sense for boats that can carry the weight and cost, for commercially coded vessels, or for owners who want the larger kit and heavier construction and are willing to stow it.
Pack A, Pack B and the 24-hour line: which kit level fits a multi-week passage
ISO 9650 divides its equipment lists by how long the raft is expected to keep people alive before rescue. The dividing line is 24 hours. One pack level is designed for a wait of up to a day, and the other is designed for a wait longer than a day. The longer-duration pack carries more water, more food and more equipment to deal with a longer stay.
Labels vary. Depending on the standard edition and the manufacturer, you may see these levels called Pack A and Pack B, or Pack 1 and Pack 2, and sellers sometimes use the letters loosely. Do not rely on a letter or number to tell you which is the long-duration kit. Check the pack description on the certificate and the equipment list, and confirm it states the over-24-hour duration.
For a multi-week passage, the decision is simple: specify the longer-duration pack. The shorter pack is built around a short wait close to land, and an ocean crossing is not what it was designed for. The cost and weight savings are small compared with what you lose if the raft has to be lived in for several days.
Two cautions apply even then:
- A longer-duration pack is a minimum, not a guarantee. The water in it is sized for a defined number of people for a defined period, and the stated rations are survival rations, not comfort. Treat the contents as the floor under your own preparations.
- You can upgrade a short-duration pack, but upgrading it yourself means adding items that fill the same space and carry their own expiry dates. It is usually simpler to buy the longer pack and then add the extras described below.
If a crew sails in conditions where the nearest rescue could be several days away, the right comparison isn’t Pack A against Pack B, but the raft’s pack against how long they honestly expect to wait on their planned route.
Inside the canister: the survival equipment you get, item by item
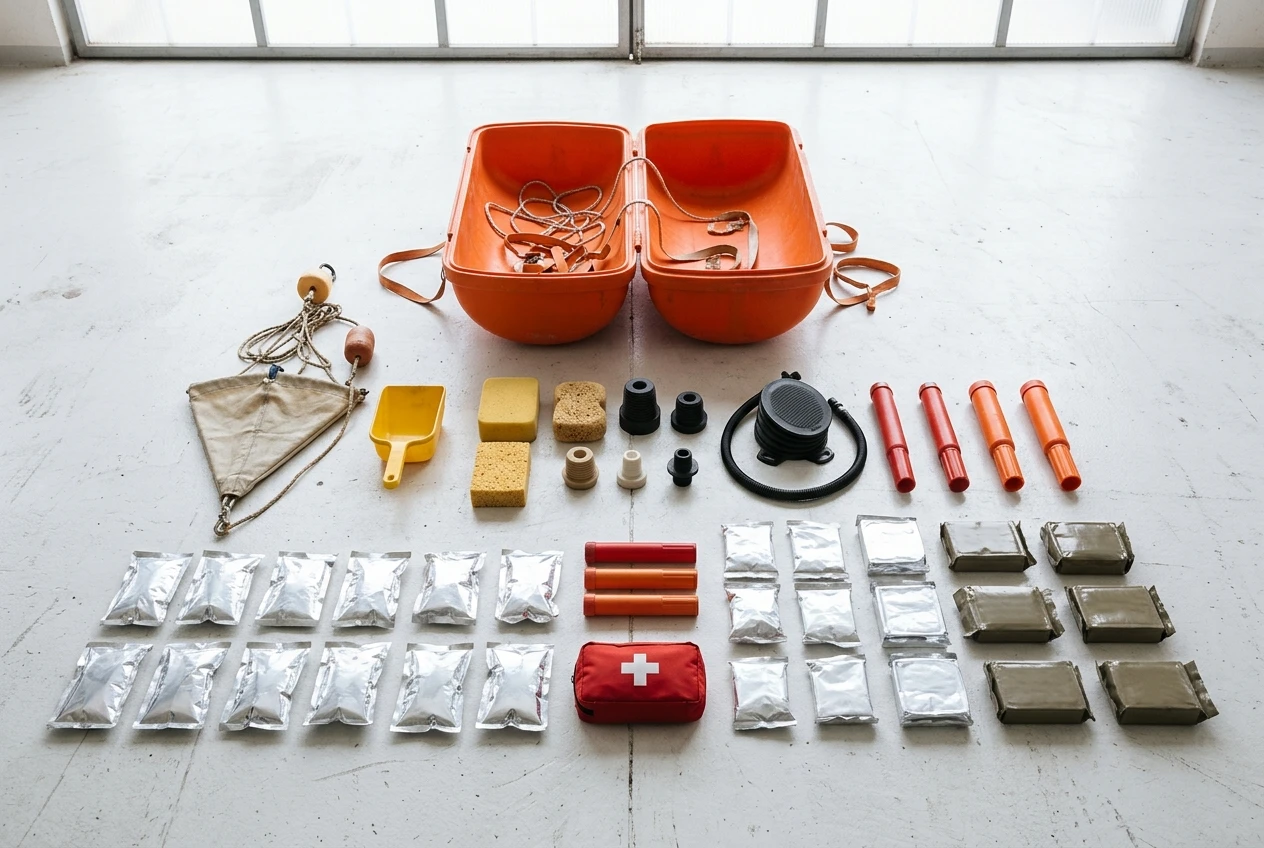
Contents depend on the pack level and the manufacturer, so the equipment list that comes with your raft is the authority. What follows is the kind of equipment a longer-duration offshore pack is built around, grouped by purpose.
Keeping the raft working
- Repair kit. Plugs or clamps for punctures and a tool to fit them. These matter more offshore because a slow leak over several days is a real possibility.
- Inflation pump or bellows. For topping up the tubes. Raft tubes lose pressure with temperature changes, and the pump keeps them firm.
- Bailer and sponges. For removing water from the floor, a constant job in rough weather.
- Knife. For cutting the painter after boarding. Check that it is the safety type intended for the job.
Staying stable
- Sea anchor or drogue. Slows drift and keeps the raft pointing and riding more steadily. Check it is attached and deploys easily.
- Ballast pockets. Water-filled pockets under the raft that resist capsize. These are part of the raft’s construction rather than loose equipment, and they are worth comparing between models.
- Righting strap. Helps turn the raft over if it inverts, which is why its position and ease of use matter.
Getting in and staying out of the water
- Boarding ramp or ladder. An exhausted, wet crew member has to climb in, and the entry design determines whether that is possible.
- Canopy. Protection from wind, spray and sun. Check how it is erected and whether it can be opened for ventilation.
Being seen
- Signaling devices. Typically flares, a torch, a whistle and a signal mirror or reflector, with quantities set by the pack. Flares expire, and the date is on them.
- Lights. Many rafts have a light on the canopy and one inside, powered by a water-activated battery.
Staying alive
- Water and rations. Quantities are set by the pack level standard and the number of people.
- First aid kit and seasickness remedies. Seasickness in a raft is a real hazard because it dehydrates people who have little water to spare.
- Instruction card. Survival and use instructions, which are useful if the person reading them has never used the raft.
Read the list on your own raft item by item before you buy and again at each service. If an item is missing, ask why, and check the expiry date on everything that has one.
What the standard kit leaves out and what to put in your grab bag
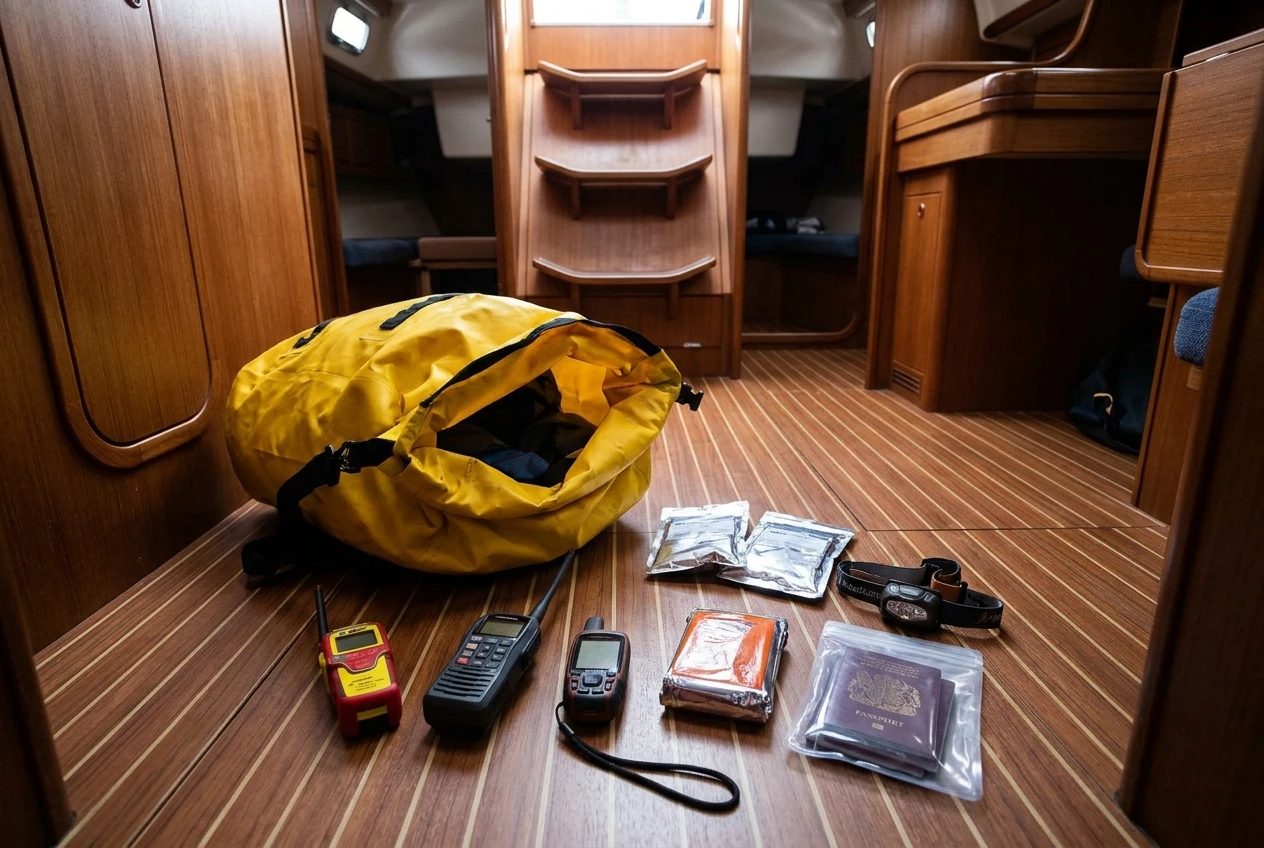
The raft’s pack is designed to keep people alive in the raft. It isn’t designed to get a rescue vessel to the raft, treat injuries beyond basic first aid, or handle a wait longer than the pack’s rating. That is the job of the grab bag, a waterproof bag kept within seconds’ reach and carried into the raft with the crew.
The gaps fall into a few areas.
Calling for help
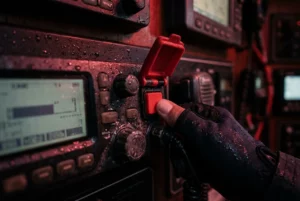
The raft pack offers visual signals, which only work if a vessel or aircraft is already close. Electronic signaling reaches much further. A grab bag should hold a personal locator beacon and a handheld VHF, and many crews add a satellite communicator. For the differences between beacon types and which to carry, see this comparison of EPIRB vs PLB for sailing. Keep spare batteries for everything, in a sealed bag, in the grab bag too.
Knowing where you are
A handheld GPS lets you give a rescuer an accurate position even if the boat’s instruments are gone. Pair it with a written note of your last known position and the times of any position reports.
Water and food
The pack’s water allowance is a minimum. Extra water in sealed pouches or bottles is the simplest addition. A hand-operated watermaker is a more serious option for a long wait because it turns the surrounding sea into a supply, but you need to test it and check its seals before you rely on it. Add high-energy food that needs no preparation.
Medical and personal
- A first aid kit with more depth than the raft’s basic one, including dressings, antiseptic, and pain relief.
- Each person’s prescription medication, in labeled waterproof packaging.
- Seasickness remedies beyond what the pack includes.
- Sun protection, because a raft canopy does not cover everything.
Warmth
Thermal protective aids, survival bags, and spare warm layers in a dry bag. Cold is a serious problem even in warm climates because a wet crew loses heat quickly, and a cold or wet floor makes it worse.
Signaling and light
Carry extra handheld flares and a parachute flare or two, if you carry them, plus a strobe, headlamps, and spare batteries. Check that any pyrotechnics are in date and that your crew knows how to use them.
Documents
Passports, boat papers, and a small amount of cash in a waterproof pouch. These matter after rescue, when you land somewhere with no boat and no documents.
Weigh the finished bag, and make sure whoever will carry it can lift it into a raft from a deck or the water. A bag packed with everything on this list that nobody can move is not a useful bag. The broader checklist of equipment a boat needs before leaving the dock is covered in the safety equipment every boat needs before it leaves the dock.
Canister or valise, and how many people the raft should really carry
Canister
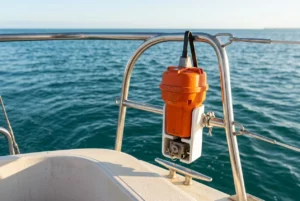
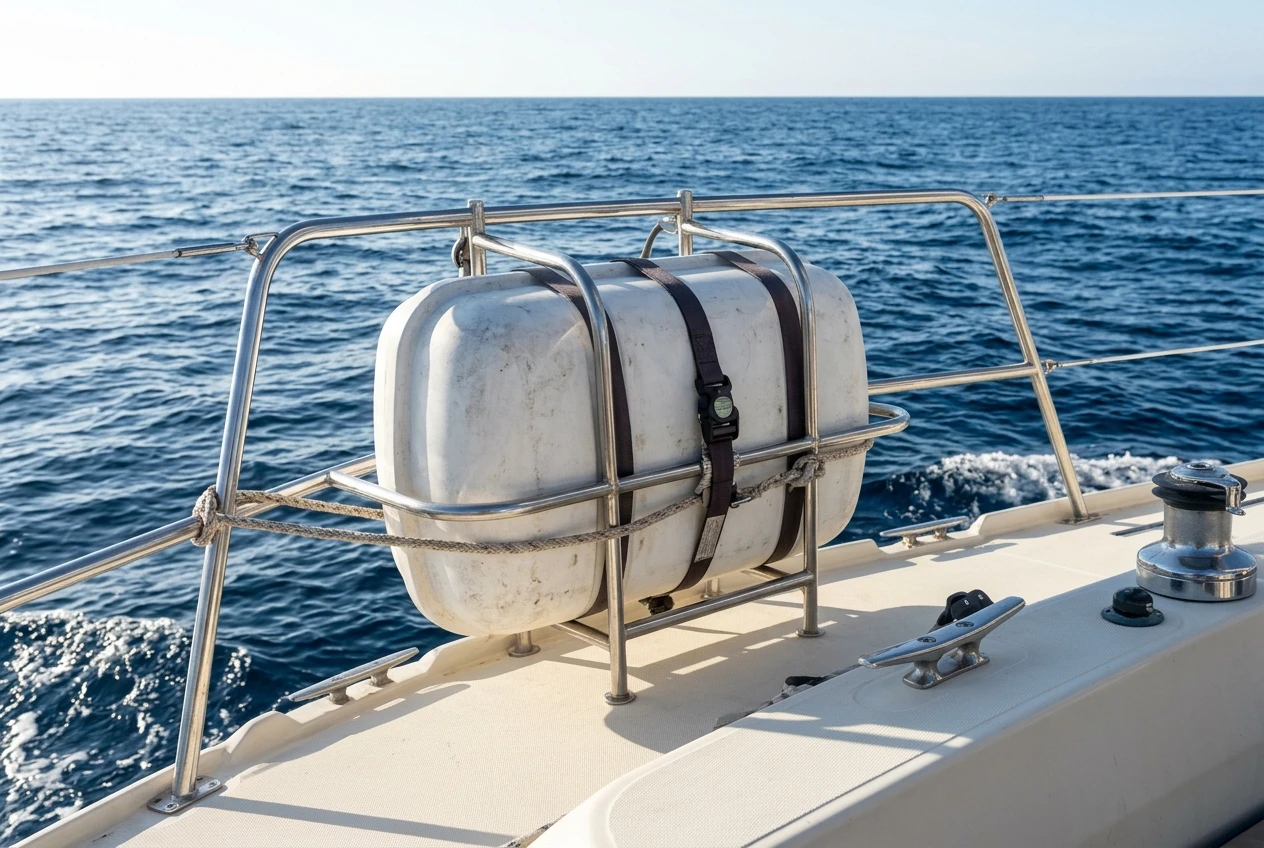
A canister raft is packed in a rigid glass-fiber or plastic container, usually mounted on deck in a cradle. Its advantages are protection from water and damage, and the ability to fit a release that frees it if the boat sinks. The disadvantages are weight, bulk, and the need for a good deck location where waves or crew won’t strike it.
Valise
A valise raft is packed in a soft bag, which makes it lighter, cheaper, and easier to stow in a locker. The raft inside is less protected, and crew must carry it to the rail by hand, so stowage position and crew fitness matter. A valise can be a sensible choice for a boat without a good deck position for a canister, as long as it is stowed where it can be reached at once and lifted out by one person.
For an ocean passage, a deck-mounted canister is the more common choice because it launches quickly and doesn’t need to be found and carried in an emergency. A valise is a reasonable compromise only when the locker position is truly accessible and tested.
Capacity
A raft’s rated capacity is the maximum number of people it is certified to carry, and at full capacity it is cramped. On a long wait, cramped means little room to lie down, bail, or tend the injured. Many offshore crews choose a raft rated for more people than they have aboard so that everyone has room. That means paying for and stowing a bigger raft, so the choice is a trade-off between space and weight.
Check these before you decide:
- The rated capacity and what the standard says about the space each person gets.
- Whether the raft has two separate buoyancy chambers, and what capacity it supports if one fails.
- The raft’s packed weight versus the strength of the person who would have to launch it.
- Whether the canopy and floor suit a long stay, not just a short one.
If you regularly carry guests as well as crew, size the raft for the largest number aboard.
Servicing, stowage and launching: the checks that decide whether it works on the day
A raft is only as good as it is when you need it, and three things determine that: service, stowage, and practice.
Servicing
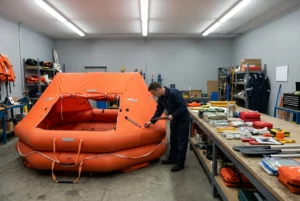
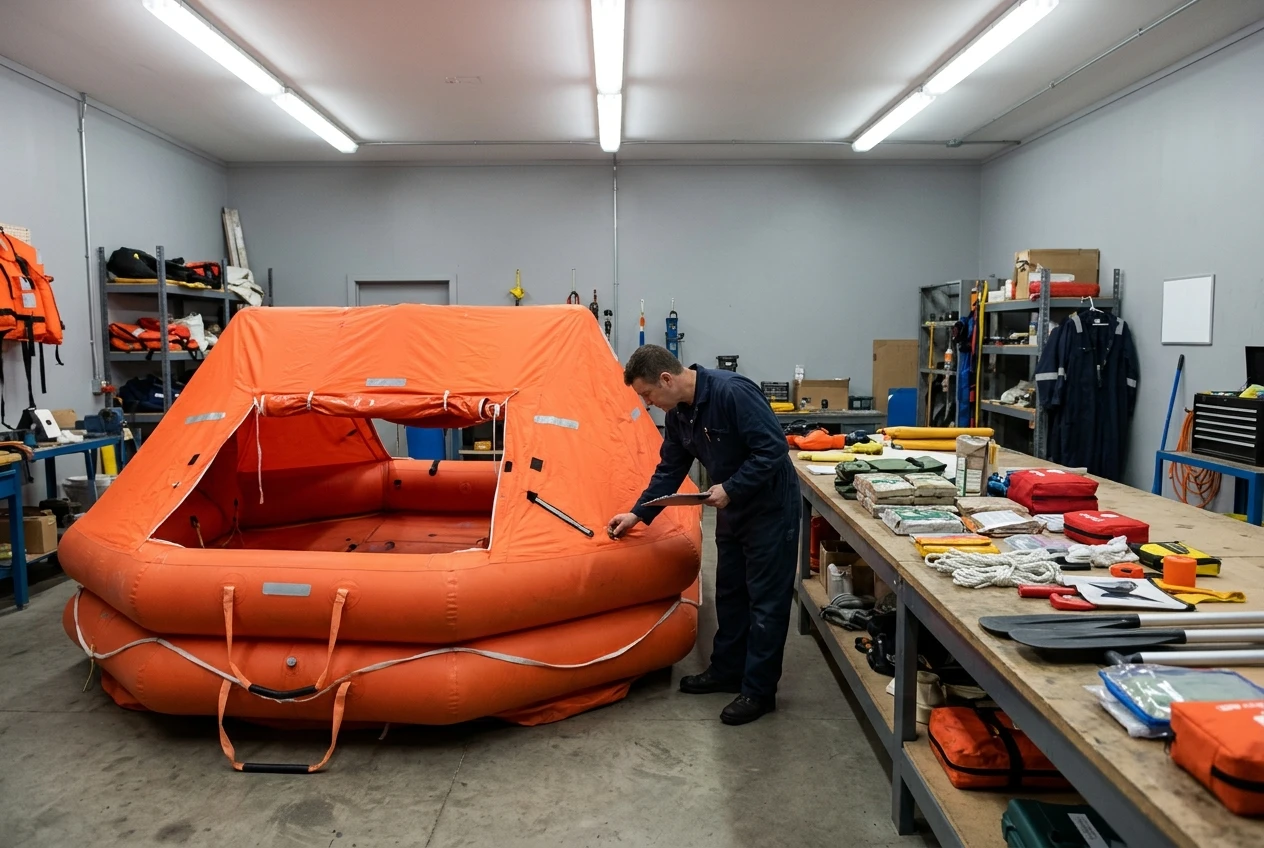
Rafts have to be serviced by an approved service station on the manufacturer’s schedule. The service inflates the raft, tests it, repacks it and replaces expired items. Practical points:
- Ask for the service certificate and keep it aboard.
- Ask to watch the inflation test and to see the equipment laid out. Doing so shows you what is in your raft and how it is packed.
- When the raft comes back, check the dates on every consumable and diarise the earliest expiry.
- Service before a major passage, not after it. A raft due for service during an ocean crossing may not be trusted when you need it most.
Hydrostatic release units, where fitted, have their own replacement schedule, and flares and batteries elsewhere in the grab bag do too.
Stowage
The raft needs to sit where you can reach it in seconds, with nothing stowed on it or in front of it. On deck, check that the cradle holds the canister firmly in rough weather and that the release can work freely. Attach the painter, the line that inflates the raft when pulled, to a strong point on the boat. Make sure the crew know where that point is and that the line can run clear of rails, lifelines and fittings.
Launching
Rehearse the sequence before you leave, with every crew member and with the real layout of your boat in mind. The standard guidance runs as follows:
- Bring the raft to the launch point, with the painter still secured to the boat.
- Throw it to the leeward side so the wind pushes it away from the hull, not into it.
- Pull the painter firmly until the raft inflates.
- Board from the boat if you can, because staying dry matters. Step down into the raft instead of jumping in.
- Cut the painter only when everyone is aboard and clear of the boat.
- Stream the sea anchor and collect the grab bag.
You can read this sequence in a manual, but crews only remember it if they have walked through it. A crew that has practiced knows who deploys the raft, who brings the grab bag, and who counts heads. That drill is part of the specification for a life raft for blue water cruising, as much as the label standard.
This article was created with AI assistance and reviewed by a human editor.
Disclosure: This post contains Amazon affiliate links. If you buy through them, we may earn a small commission at no extra cost to you
About The Author